Its bell a little time between updates for some not easily noticeable works, but I believe the key to a great model is in the details and this is where my work has been concentrated recently.
Here I have added the vanes on the rear of the hull, there were made from strip styrene and they were detailed with fine strip and disks of styrene cut from a length of styrene rod.
They are added to both sides of the rear hull plates, I followed the reference pictures of the studio model for these details.
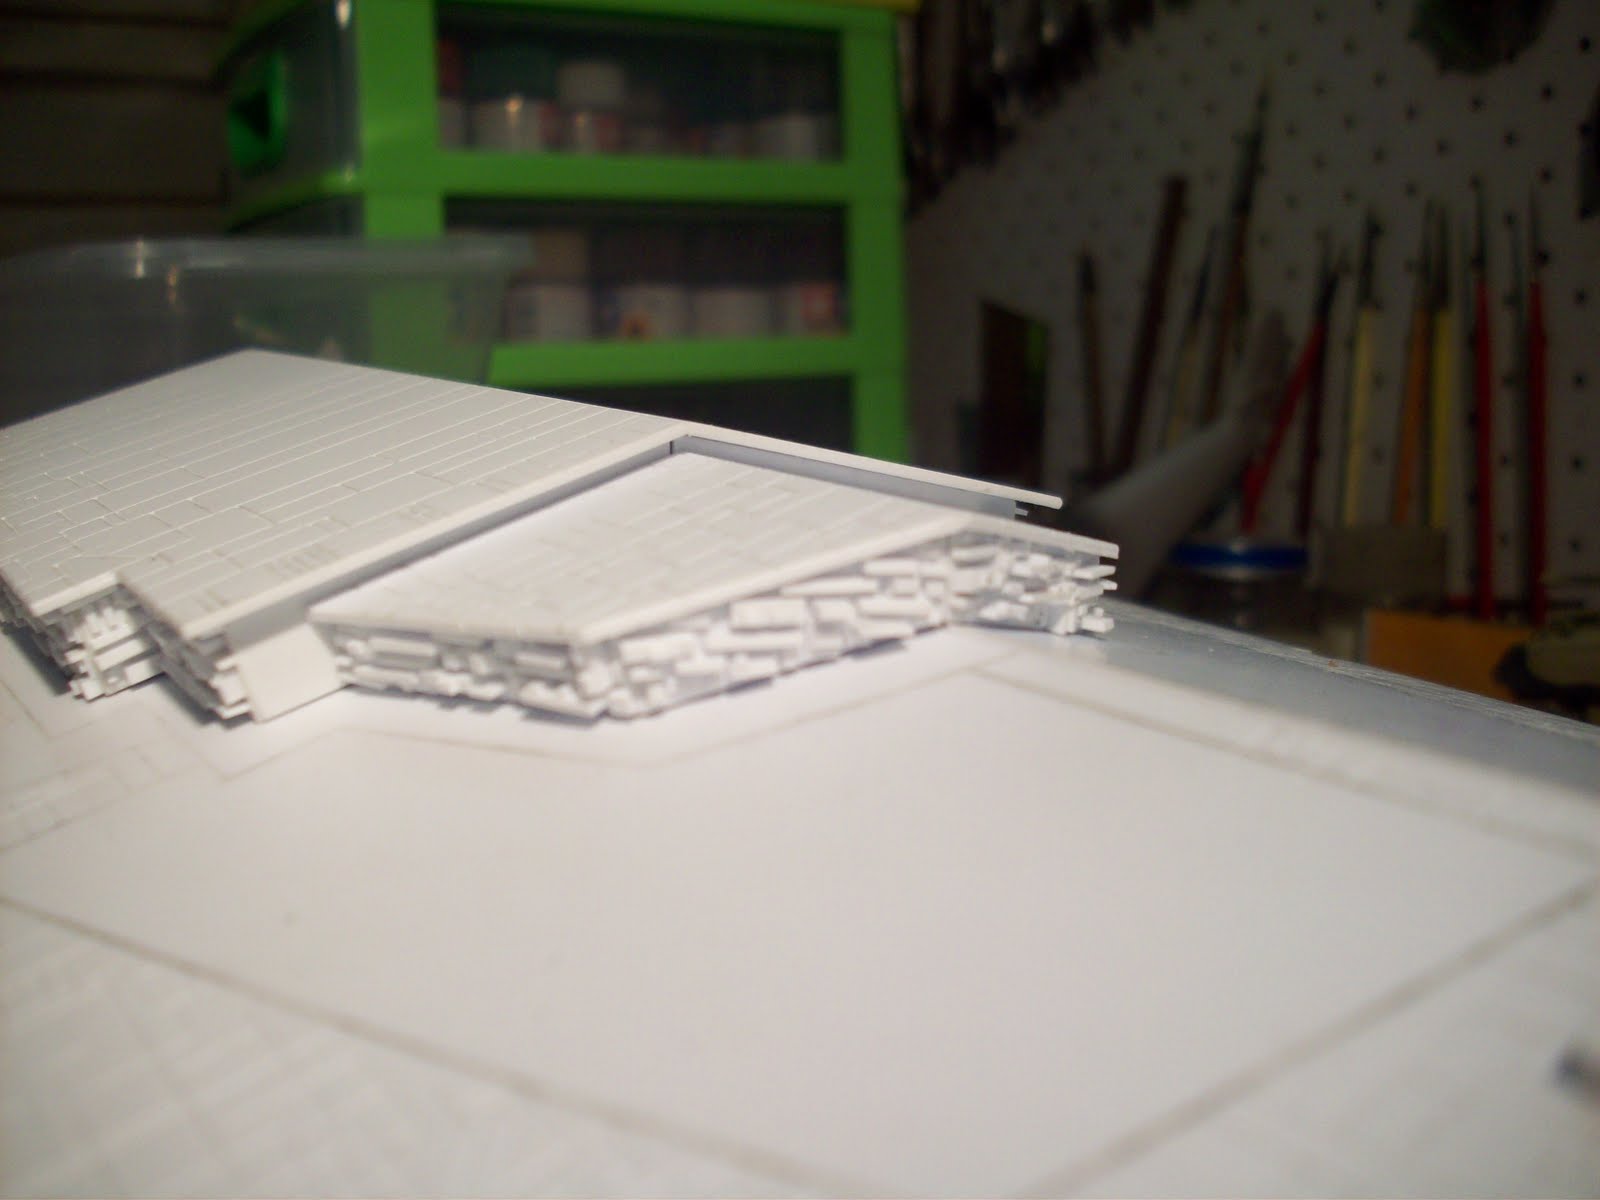
Next on the list is the detail on the hull plate extensions. I made strengthing webs from tiny triangles that I cut from strip styrene, placed them at regular intervals, symetrically side to side and top to bottom (one of the few details that is like this).
The gaps between were then detailed with tiny shapes cut from very fine stip styrene and place in a random way.
This work is still in progress on the lower hull parts.
After I finish this detailing I will be able to separate the top and bottom hull halves and prime the trench detail (and probably paint it as well). I think it will be much easier to paint it with the top off.
The top and bottom hull halves can then be joined woth glue and work can begin on the rear engine area.
Stay tuned,
Cheers,
Monday, September 6, 2010
Tuesday, August 24, 2010
Trench Completed & Other Details
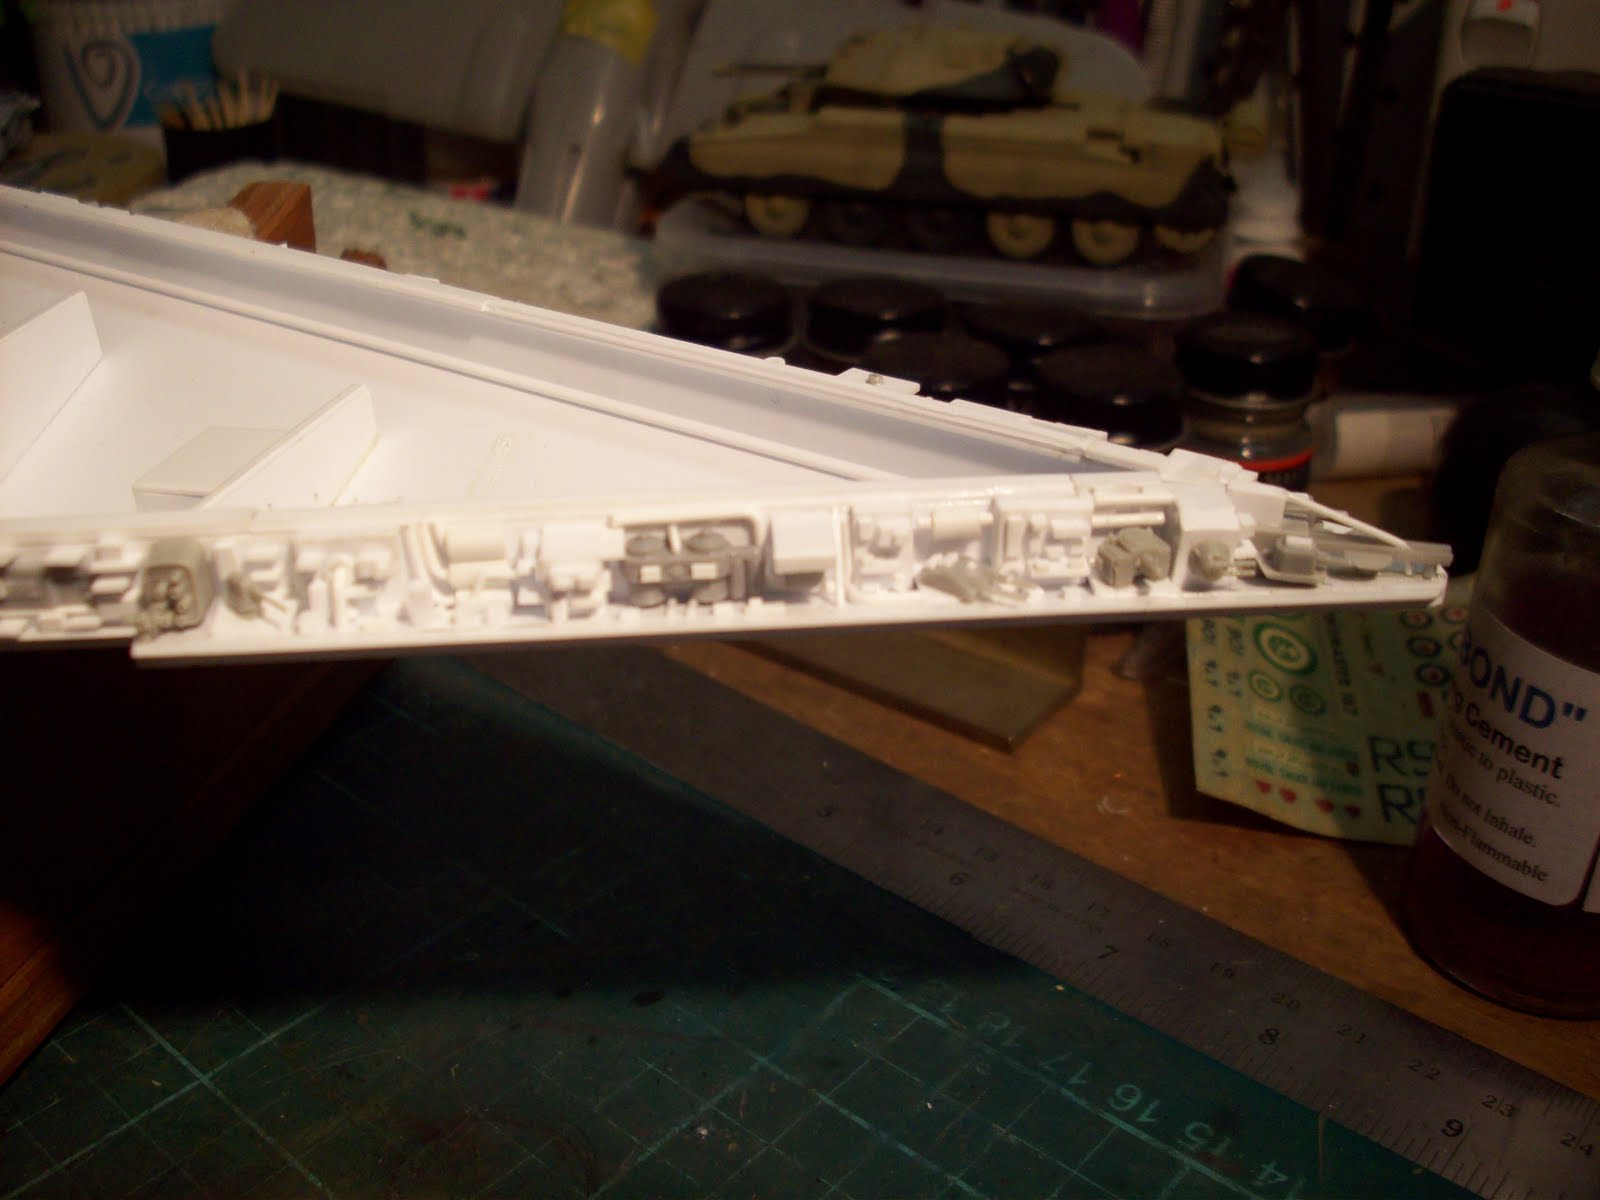
Time for another update, the trench details have been completed. This part was a lot of fun, I was able to add heaps of parts from 1:1200 scale ship kits including an aray of cool looking gun emplacements of varying styles.
I followed the reference photos for the 'Devestator' from 'A New Hope' and added some cool guns to the small cut out in the trench. The 'Devestator' has some really cool gun turrets for the main guns - but more on that in a future post.
I also used a pile of parts from car kits in the trench including, brake cylinders, oil filters and carburettors....
I also finished the main hanger bay surround and details as well as the tractor beam projector emplacements just fore of these.
I was also able to permanently attach the bridge using epoxy glue and superglure to hold it until the epoxy dried.
Other detailing added was some to the area in front of the superstructure, AA gun mount from a 1:72 panther and an oleo leg from a 1:144 F117 giving the details.
The main gun emplacement base has also been added and the holes drilled so that the turrets can be centered.
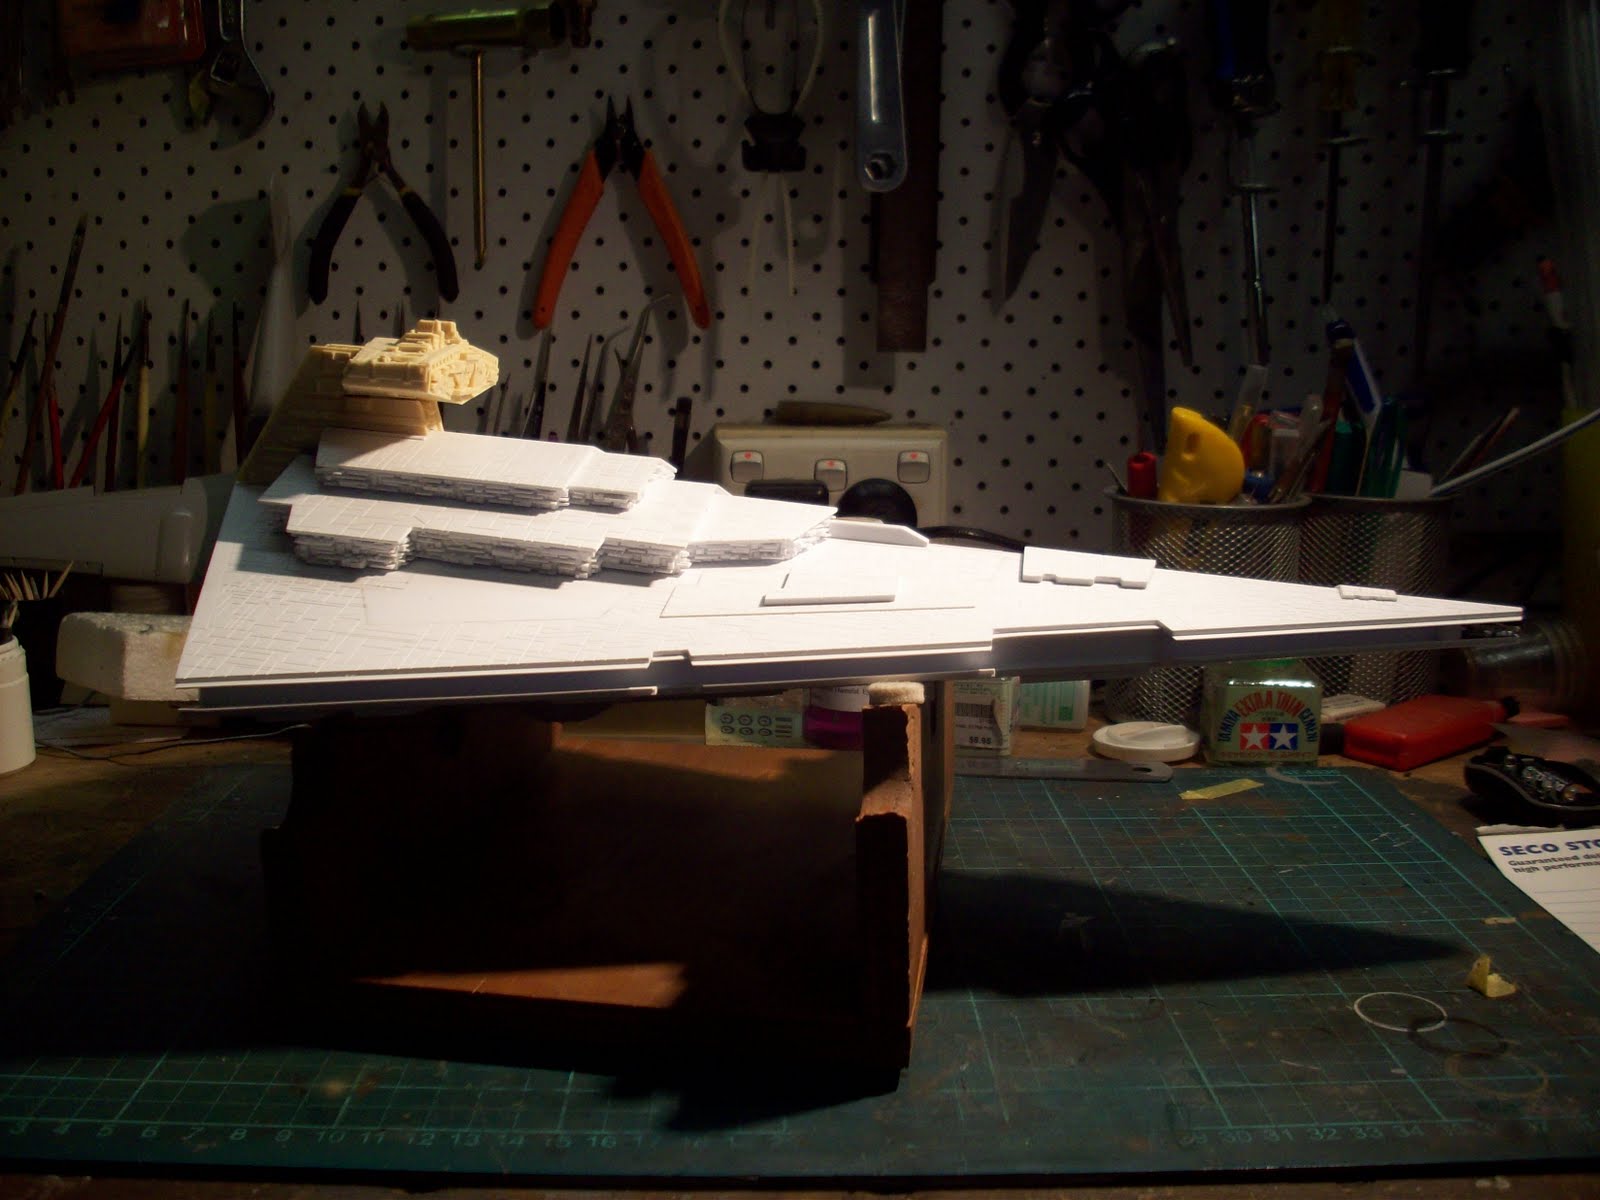
The vane details on the hull rear have been added from various stip styrene lengths and the lower sloping peice for the engine area also added. At this stage the entire hull is still in 2 halves top and bottom and they will have to permanently joined soon so that work on the engine area can begin.
Thanks for reading,
Cheers,
I followed the reference photos for the 'Devestator' from 'A New Hope' and added some cool guns to the small cut out in the trench. The 'Devestator' has some really cool gun turrets for the main guns - but more on that in a future post.
I also used a pile of parts from car kits in the trench including, brake cylinders, oil filters and carburettors....
I also finished the main hanger bay surround and details as well as the tractor beam projector emplacements just fore of these.
I was also able to permanently attach the bridge using epoxy glue and superglure to hold it until the epoxy dried.
Other detailing added was some to the area in front of the superstructure, AA gun mount from a 1:72 panther and an oleo leg from a 1:144 F117 giving the details.
The main gun emplacement base has also been added and the holes drilled so that the turrets can be centered.
The vane details on the hull rear have been added from various stip styrene lengths and the lower sloping peice for the engine area also added. At this stage the entire hull is still in 2 halves top and bottom and they will have to permanently joined soon so that work on the engine area can begin.
Thanks for reading,
Cheers,
Tuesday, August 17, 2010
Trench Details
Unfortunately I have been quite busy of late and as a result modelling time has suffered, however I have managed to ma a bit of progress on the trench details.
Random parts from 1:1200 scale ship kits have been added to the trench I just add stuff that I think will look cool.
I also add some styrene rod bent up to represnt pipework and some randon styrene shapes in the same manner as the superstructure.
I am just a little over half way now on the trenches and I hope to have them finished by the weekend, so stay tuned.
Cheers,
Random parts from 1:1200 scale ship kits have been added to the trench I just add stuff that I think will look cool.
I also add some styrene rod bent up to represnt pipework and some randon styrene shapes in the same manner as the superstructure.
I am just a little over half way now on the trenches and I hope to have them finished by the weekend, so stay tuned.
Cheers,
Monday, August 9, 2010
Bridge Neck and Details
The detailing on the superstructure has been completed, I started using some greeblies from kit parts on the rear of the superstructure to give this area more of an engineering, mechanicial feel as it will be close to the engines.
I added the Arvey Models bridge neck using epoxy glue and them shimmed and filled the gaps before adding somegreeblies on the joint to disguise it.
The Bridge section has only been added using blu tack for the photos as I am sure I will knock it off during the rest of the construction sequence. It will be epoxied into place nearer to the end of construction.
The next section that I have started work on is the trench detail. I decided to start at the nose as I thought that a logical place, as well as an area of the ship that would be packed with guns and weaponry.
I started using parts that I have been accumulating from 1:1200 scale ship kits, particularly the revell german WWII battleships and the Hobby Boss modern american cruisers.
That is all for now but stay tuned - hopefully I will be able to update again soon.
Cheers,
Tuesday, July 27, 2010
Shelving
I have begun to add the'shelving' greeblies to the superstructure parts, I have done this whilst the superstructure parts are still separate, for ease of access. Once this is finished the whole superstructure and bridge neck can be glued into place.
The key to this is to be totally random, I am forever catching myself thinking symetrically!
I will try to describe and illustrate how I did this. Firstly you need some evergreen strip styrene, a few different thicknesses and a few different widths.
The styrene strips are then cut into different sized peices - be random here with the sizes that you cut.
These are then glued to the sides of the superstructure as randomly as possible, they are also re-cut as needed to get peices sized to fit any gaps.
When I have part of the superstructure side filled I go back over it and add another layer of smaller detail bits, you can notice it look more busy.
Till next time, cheers,
The key to this is to be totally random, I am forever catching myself thinking symetrically!
I will try to describe and illustrate how I did this. Firstly you need some evergreen strip styrene, a few different thicknesses and a few different widths.
The styrene strips are then cut into different sized peices - be random here with the sizes that you cut.
These are then glued to the sides of the superstructure as randomly as possible, they are also re-cut as needed to get peices sized to fit any gaps.
When I have part of the superstructure side filled I go back over it and add another layer of smaller detail bits, you can notice it look more busy.
Till next time, cheers,
Thursday, July 22, 2010
Superstructure Level 2
The upper level of the superstructure has been completed, this was all constructed in the same manner as the lower levels and details scribed in.
The next job will be gluing the superstructure in place and adjusting and adding the Arvey models bridge neck and bridge.
I have 2 bridges to choose from the one pictured above is the neck bridge from the star destroyer Devestator as seen in the opening scene of "A New Hope". This is the ship I have chasen to model as it is slightly different from the star destroyer Avenger as seen in "The Empire Strikes Back", and is not often seen in model form.
The Devestator has a different bridge face, different neck rear (no garbage chute) and different engine nozzles as well as a different main hanger bay crane, amongst a myriad of other detail differences that I wont go into. It also has a quad gun turret in the small trench notch in the rim - which is quite cool and really cool looking twin gun turrets on the sides below the superstructure.
The Arvey models parts are well cast in tan coloured resin with no visible air bubbles or flaws and I especially like the engine nozzles shape.
I feel that I could not achieve this level of detail if I scratch built these. The detailing on the bridge face is first class and will look great with a coat of paint and a wash to bring all of the detail out.
Arvey models also include the bridge shield generator domes as a separate casting as well, this is a huge relief to me as I was very worried about scratchbuilding these!!
Stay tuned for more progress...
Cheers,
The next job will be gluing the superstructure in place and adjusting and adding the Arvey models bridge neck and bridge.
I have 2 bridges to choose from the one pictured above is the neck bridge from the star destroyer Devestator as seen in the opening scene of "A New Hope". This is the ship I have chasen to model as it is slightly different from the star destroyer Avenger as seen in "The Empire Strikes Back", and is not often seen in model form.
The Devestator has a different bridge face, different neck rear (no garbage chute) and different engine nozzles as well as a different main hanger bay crane, amongst a myriad of other detail differences that I wont go into. It also has a quad gun turret in the small trench notch in the rim - which is quite cool and really cool looking twin gun turrets on the sides below the superstructure.
The Arvey models parts are well cast in tan coloured resin with no visible air bubbles or flaws and I especially like the engine nozzles shape.
I feel that I could not achieve this level of detail if I scratch built these. The detailing on the bridge face is first class and will look great with a coat of paint and a wash to bring all of the detail out.
Arvey models also include the bridge shield generator domes as a separate casting as well, this is a huge relief to me as I was very worried about scratchbuilding these!!
Stay tuned for more progress...
Cheers,
Tuesday, July 20, 2010
Superstructure Level 1
I am now leaving the undersurface for a now, whilst I construct the superstructure below the bridge area.
Again my paper plan templates were used to cut the hull plates from 1mm styrene sheet. The details were transfered onto the styrene using carbon paper and then scribed into the surface. At this point I had to refer to the Arvey models bridge support to assertain the height of the two superstructure levels. This worked out to be around 12mm and 9mm respectively.
A quick trip to the local hobby shop secured some 10mm styrene box section and some 8mm styrene 'c' channel to use for the sides of the superstructure levels.
This is the main part of the lower superstructure and it is using the 10mm styrene box section on the sides, this will greatly improve the gluing area for this part.
This is the forward part of the lower superstructure and it uses the 8mm styrene 'c' channel for the sides.
Here are the superstructure parts test fitted to the upper hull.
The sids of the superstructure will be covered with styrene strip 'shelving' and greeblies at a later date, I will probably do this and the trences at the same time to maintain a consistent look.
Here is an overhead shot of the whole show so far, getting htere slowly but surely..
Stay tuned,
Cheers,
Again my paper plan templates were used to cut the hull plates from 1mm styrene sheet. The details were transfered onto the styrene using carbon paper and then scribed into the surface. At this point I had to refer to the Arvey models bridge support to assertain the height of the two superstructure levels. This worked out to be around 12mm and 9mm respectively.
A quick trip to the local hobby shop secured some 10mm styrene box section and some 8mm styrene 'c' channel to use for the sides of the superstructure levels.
This is the main part of the lower superstructure and it is using the 10mm styrene box section on the sides, this will greatly improve the gluing area for this part.
This is the forward part of the lower superstructure and it uses the 8mm styrene 'c' channel for the sides.
Here are the superstructure parts test fitted to the upper hull.
The sids of the superstructure will be covered with styrene strip 'shelving' and greeblies at a later date, I will probably do this and the trences at the same time to maintain a consistent look.
Here is an overhead shot of the whole show so far, getting htere slowly but surely..
Stay tuned,
Cheers,
Subscribe to:
Posts (Atom)