The remaining mounting prongs were added to the main hull.
Plenty of Tamiya extra thin glue was used to get a strong bond.
The raised part of the prong still needs to be continued across the rest of the hull shape, this will be done by laminating styrene strips to a thickness to match.
After that is completed the detailing of the hull face can begin.
More soon,
Cheers,
Thursday, October 13, 2011
Wednesday, October 12, 2011
Base Part 5 Decals
My faith in custom made decals has been restored, and really I should have known better than to attempt to use setting solution on them.
The flight recorder pnael with the decal now needs some thick coats of clear to hide the substantial decal film.
The mounting prongs had the filled seams sanded and the detail added.
More soon.
Cheers,
The flight recorder pnael with the decal now needs some thick coats of clear to hide the substantial decal film.
The mounting prongs had the filled seams sanded and the detail added.
More soon.
Cheers,
Tuesday, October 11, 2011
Mounting Prongs Part 2
The two remaining mounting prongs were constructed fromm 0.75mm styrene sheet.
The seams were all treated with Mr dissolved putty and will be sanded up when this is dry.
Onto the decals..... well not quite!
Decaling the flight recorder base was a disaster. The custom made decals wrinkled up instantly and then the ink bleed out from the wrinkles. Unfortunately I did not discover this problem until my second attempt at the decal dried. I had to rip the decal off and this of course striped off some orange paint.
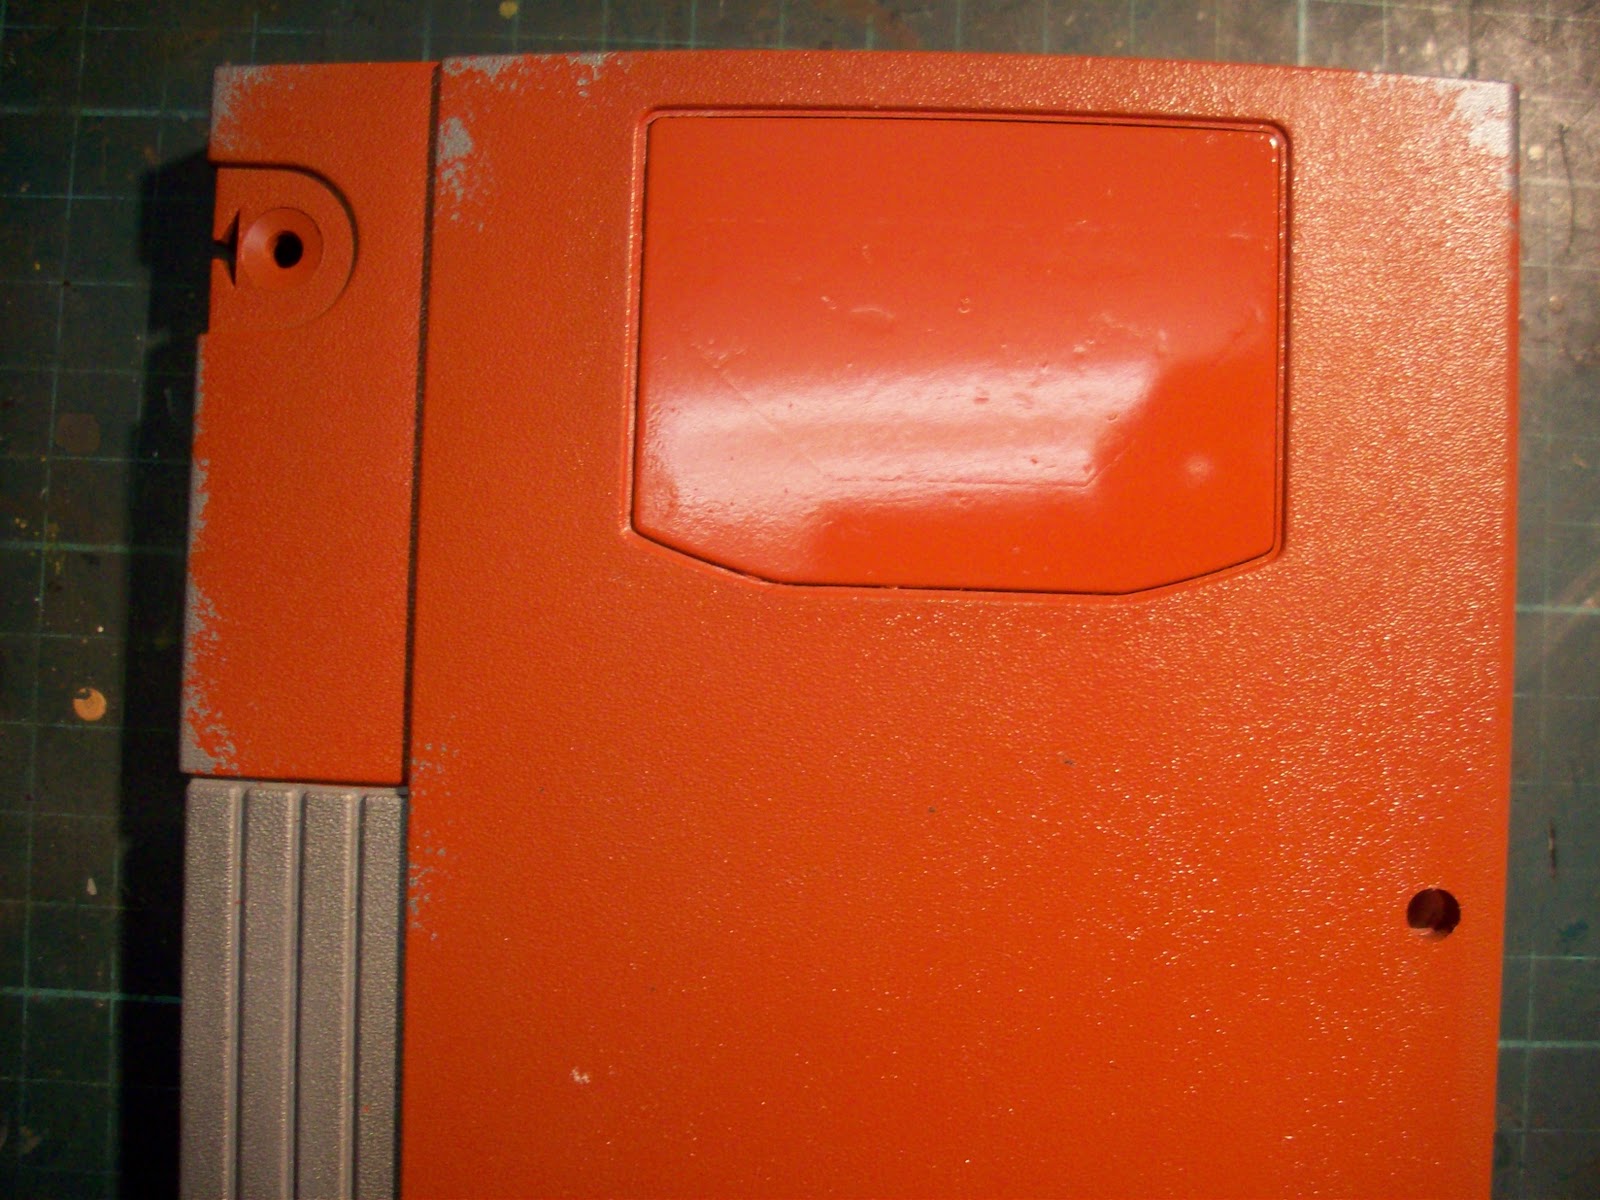
The flight recorder panel was sanded down and re-coated with orange, at least this gives it some variation in tone from the rest, which I like.
I now have used up two of my custom decals and failed. I feel this may be because I am using a setting solution on them (Mr mark softer). My next attempt at the decals will be with no setting solution, so I hope that works.
More soon,
Cheers,
The seams were all treated with Mr dissolved putty and will be sanded up when this is dry.
Onto the decals..... well not quite!
Decaling the flight recorder base was a disaster. The custom made decals wrinkled up instantly and then the ink bleed out from the wrinkles. Unfortunately I did not discover this problem until my second attempt at the decal dried. I had to rip the decal off and this of course striped off some orange paint.
The flight recorder panel was sanded down and re-coated with orange, at least this gives it some variation in tone from the rest, which I like.
I now have used up two of my custom decals and failed. I feel this may be because I am using a setting solution on them (Mr mark softer). My next attempt at the decals will be with no setting solution, so I hope that works.
More soon,
Cheers,
Monday, October 10, 2011
Base Part 4 Decals and Transfers.
I decided to try out some dry transfer lettering on the flight recorder base before using them on the EEV.
These were burnished onto the rear of the flight recorder base with a burnishing tool and this worked surprisingly well - even on the slightly undulating surface. They were then given a coat of clear gloss acrylic to seal them in, much quicker and better than decals.
Speaking of decals, a good friend of mine helped me out and made some custom decals using inkjet decal paper and photoshop on his computer and printer.
The larger decal is for the flight recorder base and the small decal for the EEV itself, the set repeated 4 times - just in case!
More soon,
Cheers,
These were burnished onto the rear of the flight recorder base with a burnishing tool and this worked surprisingly well - even on the slightly undulating surface. They were then given a coat of clear gloss acrylic to seal them in, much quicker and better than decals.
Speaking of decals, a good friend of mine helped me out and made some custom decals using inkjet decal paper and photoshop on his computer and printer.
The larger decal is for the flight recorder base and the small decal for the EEV itself, the set repeated 4 times - just in case!
More soon,
Cheers,
Thursday, October 6, 2011
Base Part 4
The paint work on the flight recorder base was completed last night. The white end part was masked up in a stripe pattern and Testors international orange was spayed on. It is worth noting that I based the colour scheme of the flight recorder on images I found whilst Googling 'flight recorder', as the actual flight recorder in the movie is a very boring black, not to mention a different shape entirely!
The whole lot was un-masked after a short drying period and the fun could begin.
The maskol I had applied with a sponge after the Tamiya titanium silver coat could now be removed to reveal metallic chipping and general wear. I wanted this flight recorder to have a bit of character, as if it had survived the crash landing on Fiorina 'Fury' 161 in the movie.
The maskol was removed with a piece of blu-tac by gently rubbing the blu-tac along the edges where the maskol was applied. This I feel has imparted some nice chipping and a general 'used' feel about the flight recorder that will be enhanced with further weathering techniques later on.
At this stage I have not re-assembled the flight recorder (you will notice the rubber feet still missing) as I now need to have some custom decals made for it (and the EEV itself). These decals will need to be applied and sealed before I progress with any further weathering of the flight recorder.
At this stage I am fairly pleased with how it is looking.
More soon,
Cheers,
The whole lot was un-masked after a short drying period and the fun could begin.
The maskol I had applied with a sponge after the Tamiya titanium silver coat could now be removed to reveal metallic chipping and general wear. I wanted this flight recorder to have a bit of character, as if it had survived the crash landing on Fiorina 'Fury' 161 in the movie.
The maskol was removed with a piece of blu-tac by gently rubbing the blu-tac along the edges where the maskol was applied. This I feel has imparted some nice chipping and a general 'used' feel about the flight recorder that will be enhanced with further weathering techniques later on.
At this stage I have not re-assembled the flight recorder (you will notice the rubber feet still missing) as I now need to have some custom decals made for it (and the EEV itself). These decals will need to be applied and sealed before I progress with any further weathering of the flight recorder.
At this stage I am fairly pleased with how it is looking.
More soon,
Cheers,
Wednesday, October 5, 2011
Hull Plating and Base Part 3
A final lighting test for the vehicle was performed to ensure everything worked properly before it is permanently closed up. The hull plating was then cut and glued into place using 0.75mm thick styrene sheet.
All of the external joints still need to be treated with a dose of liquid putty and a good measure of sanding to make it all good.
Items that still need to be made are the remaining two mounting prongs and the detailing of the upper face of the hull.
The base was masked up and a nice coat of Testors international orange enamel was applied to the main parts if the base.
The end part of the base that has the power button on it was given a nice solid coat of Tamiya gloss white acrylic.
That's all for this post, stay tuned for more.
Cheers,
All of the external joints still need to be treated with a dose of liquid putty and a good measure of sanding to make it all good.
Items that still need to be made are the remaining two mounting prongs and the detailing of the upper face of the hull.
The base was masked up and a nice coat of Testors international orange enamel was applied to the main parts if the base.
The end part of the base that has the power button on it was given a nice solid coat of Tamiya gloss white acrylic.
That's all for this post, stay tuned for more.
Cheers,
Tuesday, October 4, 2011
Fibre Optic Installation and Base Part 2
In this update whole lighting setup was brought together and installed, but before this could happen the mounting points both on the base and on the vehicle had to be sorted.
A quarter inch hole was drilled into the hull of the ship just opposite a bulkhead.
Styrene tube was added to line up with the hole, this is firmly glued to the bulkhead, as you can see the interior of the vehicle has had a coat of Tamiya flat black to help prevent any light leaks from the internal LED.
The wiring, LED light can assembly and the optic fibres were then installed. The light can for the LED was made from a section of styrene tube that snugly fit the LED, this was heat shrinked over to hold it in position.
A second smaller diameter styrene tube had the optic fibres heat shrinked and white glued in place, this is a snug fit inside the LED tube.
My attention then went to the base, the zip drive case was disassembled.
A quarter inch hole was drilled in the top for the mounting rod, styrene tube was glued inside and this was well braced with styrene offcuts.
Once I was satisfied with the strength and the glue was dry, the whole case received an undercoat of Mr surfacer 1000 from the airbrush.
When this was dry the whole case got a quick coat of Tamiya titanium silver.
This will be the base colour for the ridged area and will also serve as a chipping effect for the rest of the case.
More soon,
Cheers,
Styrene tube was added to line up with the hole, this is firmly glued to the bulkhead, as you can see the interior of the vehicle has had a coat of Tamiya flat black to help prevent any light leaks from the internal LED.
The wiring, LED light can assembly and the optic fibres were then installed. The light can for the LED was made from a section of styrene tube that snugly fit the LED, this was heat shrinked over to hold it in position.
A second smaller diameter styrene tube had the optic fibres heat shrinked and white glued in place, this is a snug fit inside the LED tube.
My attention then went to the base, the zip drive case was disassembled.
A quarter inch hole was drilled in the top for the mounting rod, styrene tube was glued inside and this was well braced with styrene offcuts.
Once I was satisfied with the strength and the glue was dry, the whole case received an undercoat of Mr surfacer 1000 from the airbrush.
When this was dry the whole case got a quick coat of Tamiya titanium silver.
This will be the base colour for the ridged area and will also serve as a chipping effect for the rest of the case.
More soon,
Cheers,
Subscribe to:
Posts (Atom)