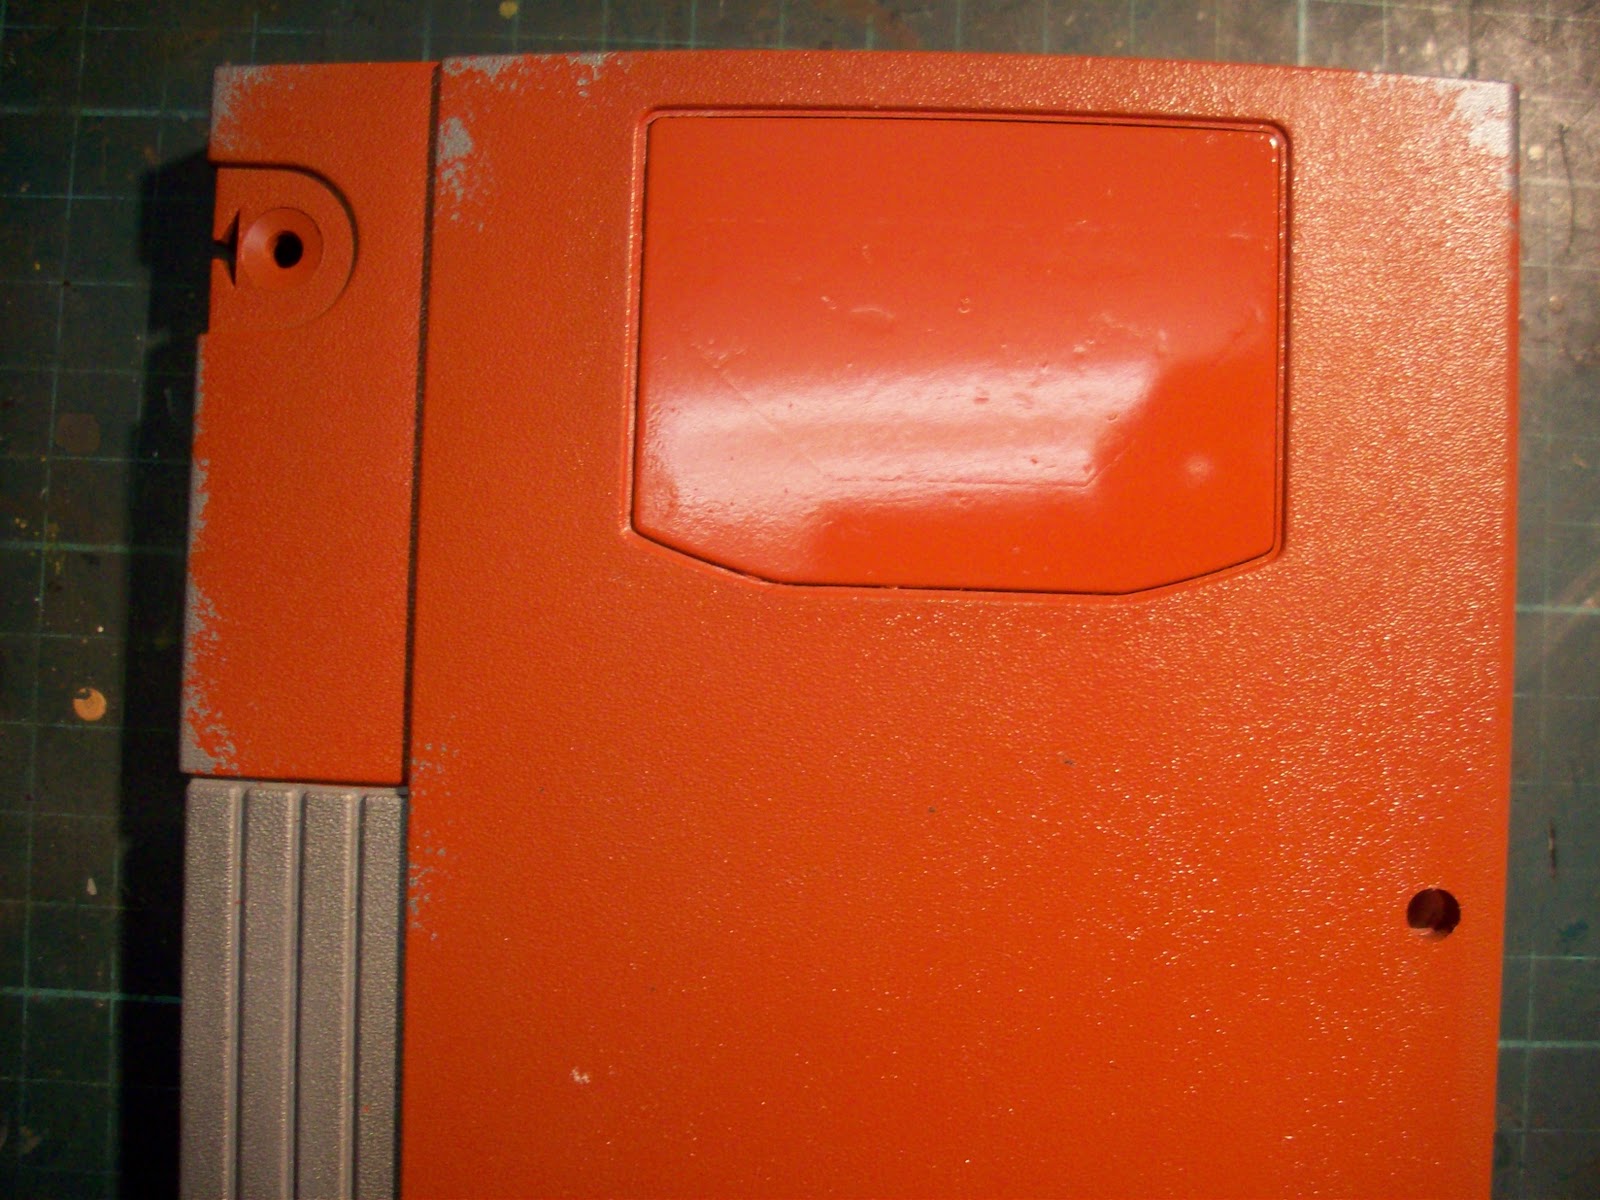
This is one of the most important steps of the whole painting exercise. The primer coat will show up any construction faults and this is the last opportunity to put them right.
The bottom of the hull was given a coat of Mr Surfacer 1000 which immediately showed up several seams that needed to be fixed. The seams were treated to some Mr dissolved putty and when dry sanded smooth.
The whole craft was then primed in Floquil primer, this is a model railway laquer based paint that those in North America should know well, its the best primer I have found by far. At this point I must admit that I almost forgot to mask my fibre optic lights, they were given a liberal coat of Humbrol maskol to protect them from the paint.
Again the surfaces were examined for flaws and I am happy to report none were found so the craft will be ready to receive the base coat of paint next.
The model takes on a whole new feel now it is in primer and I am really looking forward to seeing the base colour on it.
More soon,
Cheers,
Thursday, October 20, 2011
Monday, October 17, 2011
Construction Complete!
I have managed to complete the construction of the EEV over the course of the week end. There are a still a couple of small parts to add after the painting and decaling stage is complete.
The top of the hull received the most work with styrene laninated onto it to reproduce the relief details prior to the cryo-tube arches and other pre-made parts were added, however almost no part of the vehicle escaped some sort of additional detail.
All of the additional detailing was done with styrene strip and shapes.
It is worth noting at his point that there are significant differences between the paper model plans used as a basis for this build and the actual studio model used for filming. Differences lie in both the general shape as well as the details.
I tried to incorporate as many of the details from the actual studio model that I could and although the overall shape is different I feel that it represents the EEV quite well and I am very pleased with what I have achieved so far.
All that remains before painting can begin is a clean up of the seams with some filler putty and some sanding.
More to come,
Cheers,
The top of the hull received the most work with styrene laninated onto it to reproduce the relief details prior to the cryo-tube arches and other pre-made parts were added, however almost no part of the vehicle escaped some sort of additional detail.
All of the additional detailing was done with styrene strip and shapes.
It is worth noting at his point that there are significant differences between the paper model plans used as a basis for this build and the actual studio model used for filming. Differences lie in both the general shape as well as the details.
I tried to incorporate as many of the details from the actual studio model that I could and although the overall shape is different I feel that it represents the EEV quite well and I am very pleased with what I have achieved so far.
All that remains before painting can begin is a clean up of the seams with some filler putty and some sanding.
More to come,
Cheers,
Friday, October 14, 2011
Detailing Begins
The last parts for the Mounting prongs were added last night. Then it was on to detailing the upper hull.
The detailing strips were cut from evergreen styrene with a NWSL chopper to ensure they were all exactly the same and then glued onto the hull.
I also decided to add strengthening webs to the end hatch using small triangles cut from styrene strip.
I am fairly pleased how this came out and I think it adds that little extra level of detail that offsets the rest of the end part.
The cryotube arches and associated details are now ready to be added and this project is getting close to going to the paint shop.
More soon,
Cheers,
The detailing strips were cut from evergreen styrene with a NWSL chopper to ensure they were all exactly the same and then glued onto the hull.
I also decided to add strengthening webs to the end hatch using small triangles cut from styrene strip.
I am fairly pleased how this came out and I think it adds that little extra level of detail that offsets the rest of the end part.
The cryotube arches and associated details are now ready to be added and this project is getting close to going to the paint shop.
More soon,
Cheers,
Thursday, October 13, 2011
Mounting Prongs Part 3
The remaining mounting prongs were added to the main hull.
Plenty of Tamiya extra thin glue was used to get a strong bond.
The raised part of the prong still needs to be continued across the rest of the hull shape, this will be done by laminating styrene strips to a thickness to match.
After that is completed the detailing of the hull face can begin.
More soon,
Cheers,
Plenty of Tamiya extra thin glue was used to get a strong bond.
The raised part of the prong still needs to be continued across the rest of the hull shape, this will be done by laminating styrene strips to a thickness to match.
After that is completed the detailing of the hull face can begin.
More soon,
Cheers,
Wednesday, October 12, 2011
Base Part 5 Decals
My faith in custom made decals has been restored, and really I should have known better than to attempt to use setting solution on them.
The flight recorder pnael with the decal now needs some thick coats of clear to hide the substantial decal film.
The mounting prongs had the filled seams sanded and the detail added.
More soon.
Cheers,
The flight recorder pnael with the decal now needs some thick coats of clear to hide the substantial decal film.
The mounting prongs had the filled seams sanded and the detail added.
More soon.
Cheers,
Tuesday, October 11, 2011
Mounting Prongs Part 2
The two remaining mounting prongs were constructed fromm 0.75mm styrene sheet.
The seams were all treated with Mr dissolved putty and will be sanded up when this is dry.
Onto the decals..... well not quite!
Decaling the flight recorder base was a disaster. The custom made decals wrinkled up instantly and then the ink bleed out from the wrinkles. Unfortunately I did not discover this problem until my second attempt at the decal dried. I had to rip the decal off and this of course striped off some orange paint.
The flight recorder panel was sanded down and re-coated with orange, at least this gives it some variation in tone from the rest, which I like.
I now have used up two of my custom decals and failed. I feel this may be because I am using a setting solution on them (Mr mark softer). My next attempt at the decals will be with no setting solution, so I hope that works.
More soon,
Cheers,
The seams were all treated with Mr dissolved putty and will be sanded up when this is dry.
Onto the decals..... well not quite!
Decaling the flight recorder base was a disaster. The custom made decals wrinkled up instantly and then the ink bleed out from the wrinkles. Unfortunately I did not discover this problem until my second attempt at the decal dried. I had to rip the decal off and this of course striped off some orange paint.
The flight recorder panel was sanded down and re-coated with orange, at least this gives it some variation in tone from the rest, which I like.
I now have used up two of my custom decals and failed. I feel this may be because I am using a setting solution on them (Mr mark softer). My next attempt at the decals will be with no setting solution, so I hope that works.
More soon,
Cheers,
Monday, October 10, 2011
Base Part 4 Decals and Transfers.
I decided to try out some dry transfer lettering on the flight recorder base before using them on the EEV.
These were burnished onto the rear of the flight recorder base with a burnishing tool and this worked surprisingly well - even on the slightly undulating surface. They were then given a coat of clear gloss acrylic to seal them in, much quicker and better than decals.
Speaking of decals, a good friend of mine helped me out and made some custom decals using inkjet decal paper and photoshop on his computer and printer.
The larger decal is for the flight recorder base and the small decal for the EEV itself, the set repeated 4 times - just in case!
More soon,
Cheers,
These were burnished onto the rear of the flight recorder base with a burnishing tool and this worked surprisingly well - even on the slightly undulating surface. They were then given a coat of clear gloss acrylic to seal them in, much quicker and better than decals.
Speaking of decals, a good friend of mine helped me out and made some custom decals using inkjet decal paper and photoshop on his computer and printer.
The larger decal is for the flight recorder base and the small decal for the EEV itself, the set repeated 4 times - just in case!
More soon,
Cheers,
Subscribe to:
Posts (Atom)