Pages


Saturday, April 3, 2010

Streaks and Final Flat coat

Well Happy easter to all. I finally got around to completing the basic finish on the F117.
I was generally unhappy with the original flat coat that I had applied (Tamiya gloss clear with flat base added). It still seemed very glossy especially in comparison to the very flat highlight shading that I had re-done.

So after doing the streaking with artists oils and an appropriate drying time I sprayed the whole model with Testors Dulcote. In a hope to even out the sheen of the finish.
As you can see yet again the contrast has been somewhat lost.... not as bad as last time though so I think that I will just live with it and get over it.

Here is a close up of the fuselage for a better idea of the shading. Sorry about the pic.. I relly must find my old Sony digital camera - it is much better for macro work.
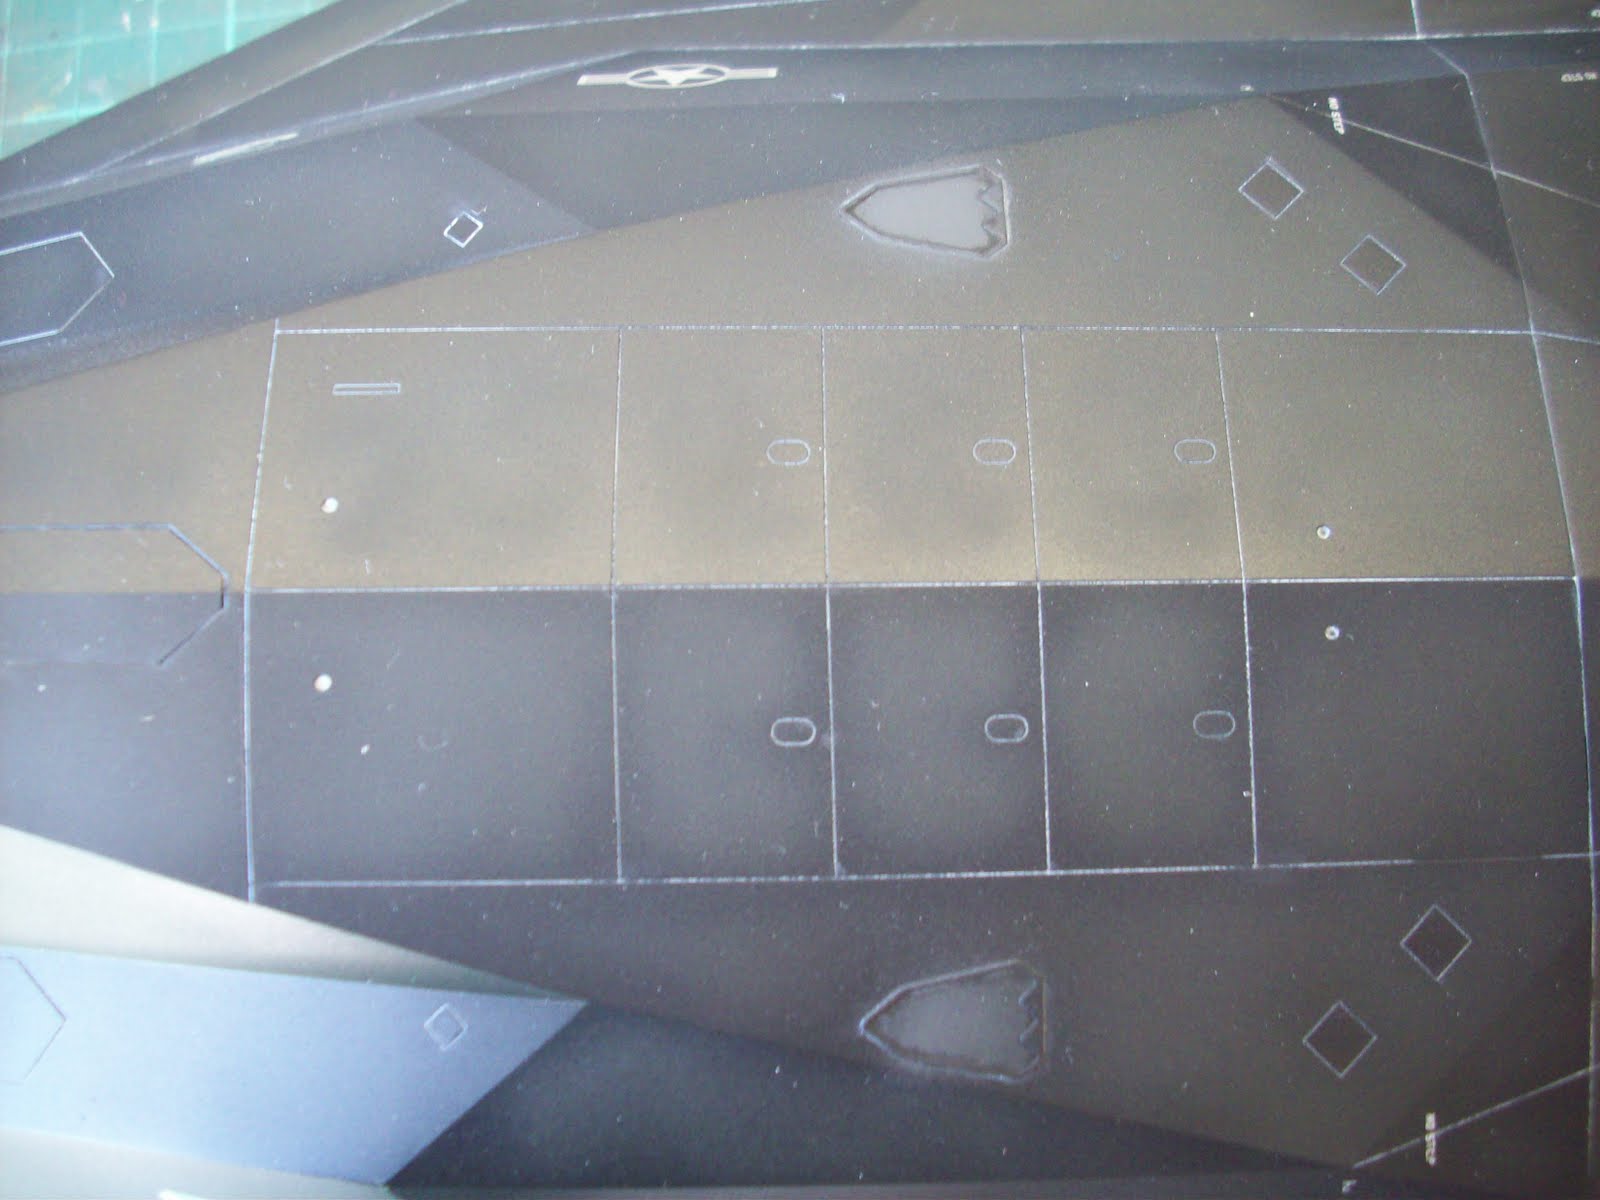
Well on to the home straight now with this one. I will be adding the ordnance and doors to the lower side tonight which will just leave the cockpit and canopy to be finished. I also plan on adding a refueling splash to the top fuselage as seen on some of my reference pics.....

Ironically this will be done in a tinted gloss paint well thinned...

Wish me luck, till next time,

Cheers,

Wednesday, March 31, 2010

F117 Black Shading

Well I managed to re-apply my 'highlights' to my black paint job last night. Even though I had to be careful and spray around all of the decals I was pretty successful I feel. It looks better now and I am sure will tone down once I add a final spray of Testors Dullcote as there is presently quite a bit of contrast between the 'semi-gloss appearance of the base coat and the 'flat' appearance of the shading.
From Complex Plastic


Here is a view of the upper surfaces as well. I tried to mottle on the shading on the larger panels such as the wings to break up the monotony of the finish. The way I tend to work, I just keep re-applying paint finishes and adjusting until I am happy with the look.
From Complex Plastic


I also put some finishing touches on remaining details like the GBU27 Paveway iii laser guided bombs and the quickboost resin ejection seat.

The bombs were painted Tamiya olive drab lightened with buff overall. The yellow stripes being painted in first and masked.

The bomb body center sections were then masked and the ends with the fins were sprayed net olive drab as in reality these are separate parts that are joined to the bomb prior to loading into the aircraft.

The seeker heads were painted up using references from the internet and the clear lenses were polished and painted chrome silver on the inside.

The weapons were then weathered adding some paint chipping with neat olive drab to the body as well as a dark wash from Mig overall.

Final touches with a silver and lead pencil for a metallic sheen to edges.


The Quickboost seat is a real gem and I recomend their range to any modelers, as the parts are dead easy to use, have great detail and look fantastic when painted up.

I painted it up with Tamiya acrylics and Humbrol enamels as per the instructions and internet references.

I added a Mig dark wash to accentuate the shadow areas and a enamel dry brush with light grey to bring out the details on the dark finish of the seat.

Its a real shame that the back of the seat will be totally hidden as the detail back there needs to be seen to be believed.


Next up will be some oil paint weathering to simulate leaks and streaks.

Till then,

Cheers,

Tuesday, March 30, 2010

Tamiya F117 Stealth Figher in 1:48


Hello to all,

My first posting is a current in-progress work on Tamiyas' 1:48 F117 Stealth Fighter. This kit was recently purchased with money given to me on my 40th birthday by mates from my local model club.

As you can see it is nearing completion with only a few details yet to be added. These include a Quick boost resin ejection seat, the canopy, gear doors, LGB's and bomb bay doors.

I spent quite some time doing shading effects on the black finish and I was quite pleased with it. Unfortunately much of this effect has been lost under the gloss coats for the decals and the subsequent flat coat.


I plan to re-do my shading effect to boost the contrast - but have to be VERY careful with the application now that the decals are on.

Until next time,

Cheers.
 
eScale Models Link Repository